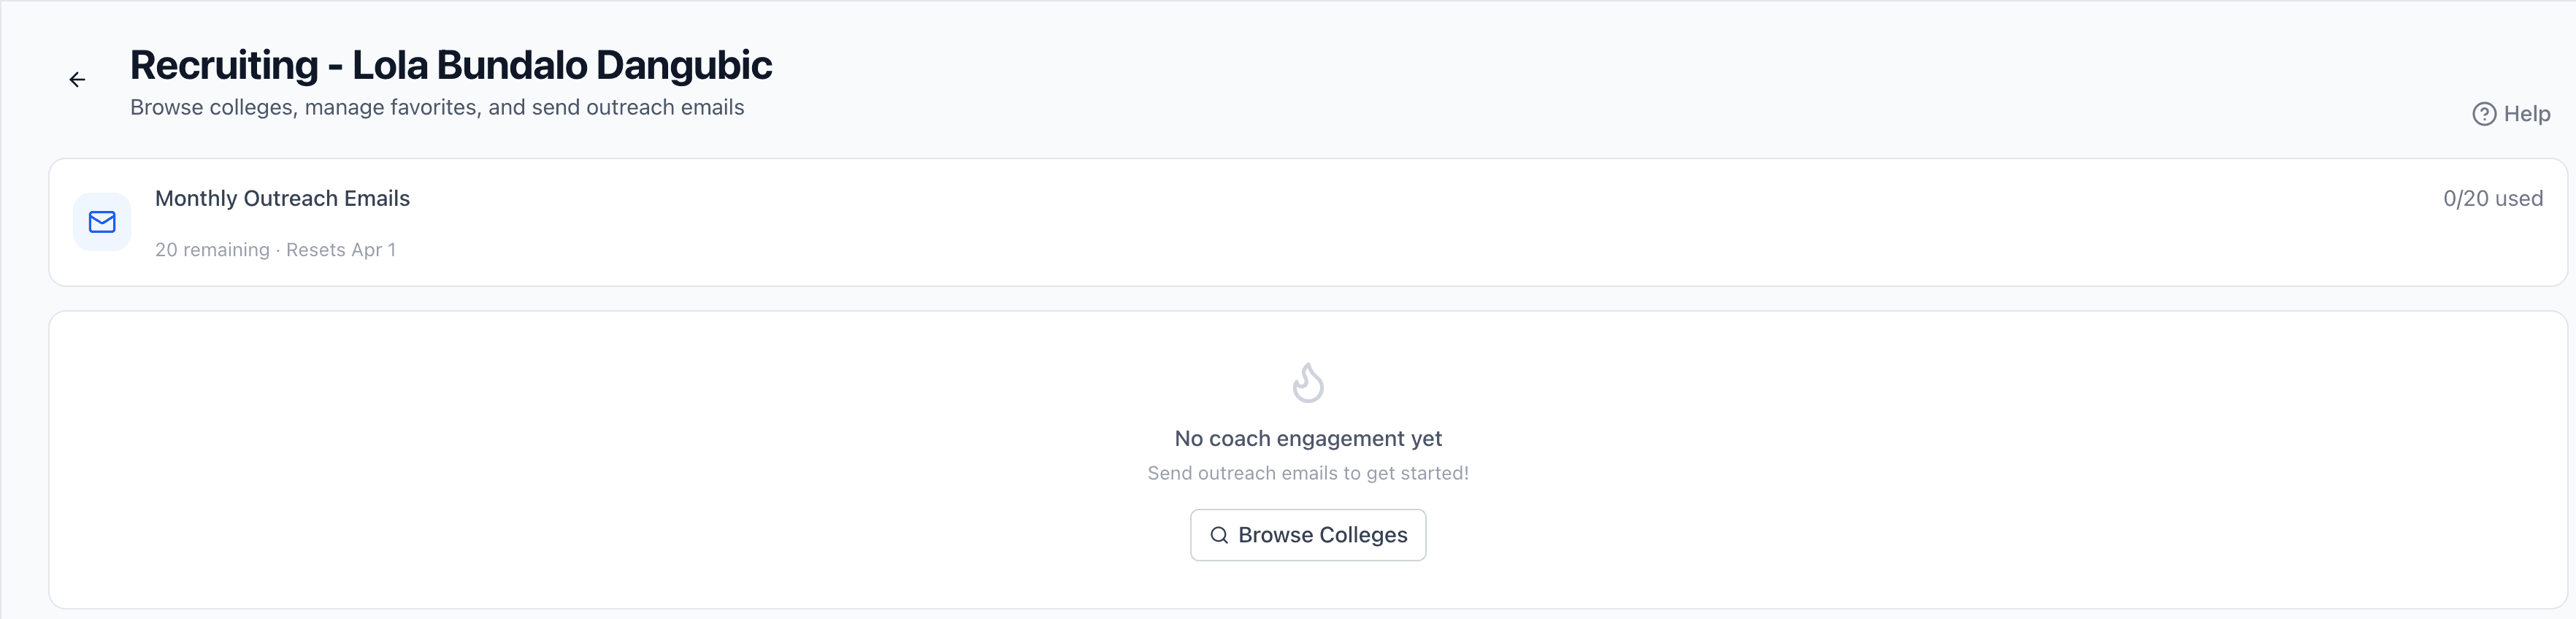
The Recruiting page is your command center for college recruiting. From here you can browse college volleyball programs, manage your target schools, track coach engagement, review outreach history, and compose emails to coaches. The dashboard gives you a clear overview of your recruiting activity at a glance.
The College Browser lets you explore volleyball programs across the country. Browse through hundreds of colleges with details like division, conference, location, and head coach information. Each program card shows key details at a glance so you can quickly identify programs that match your interests.
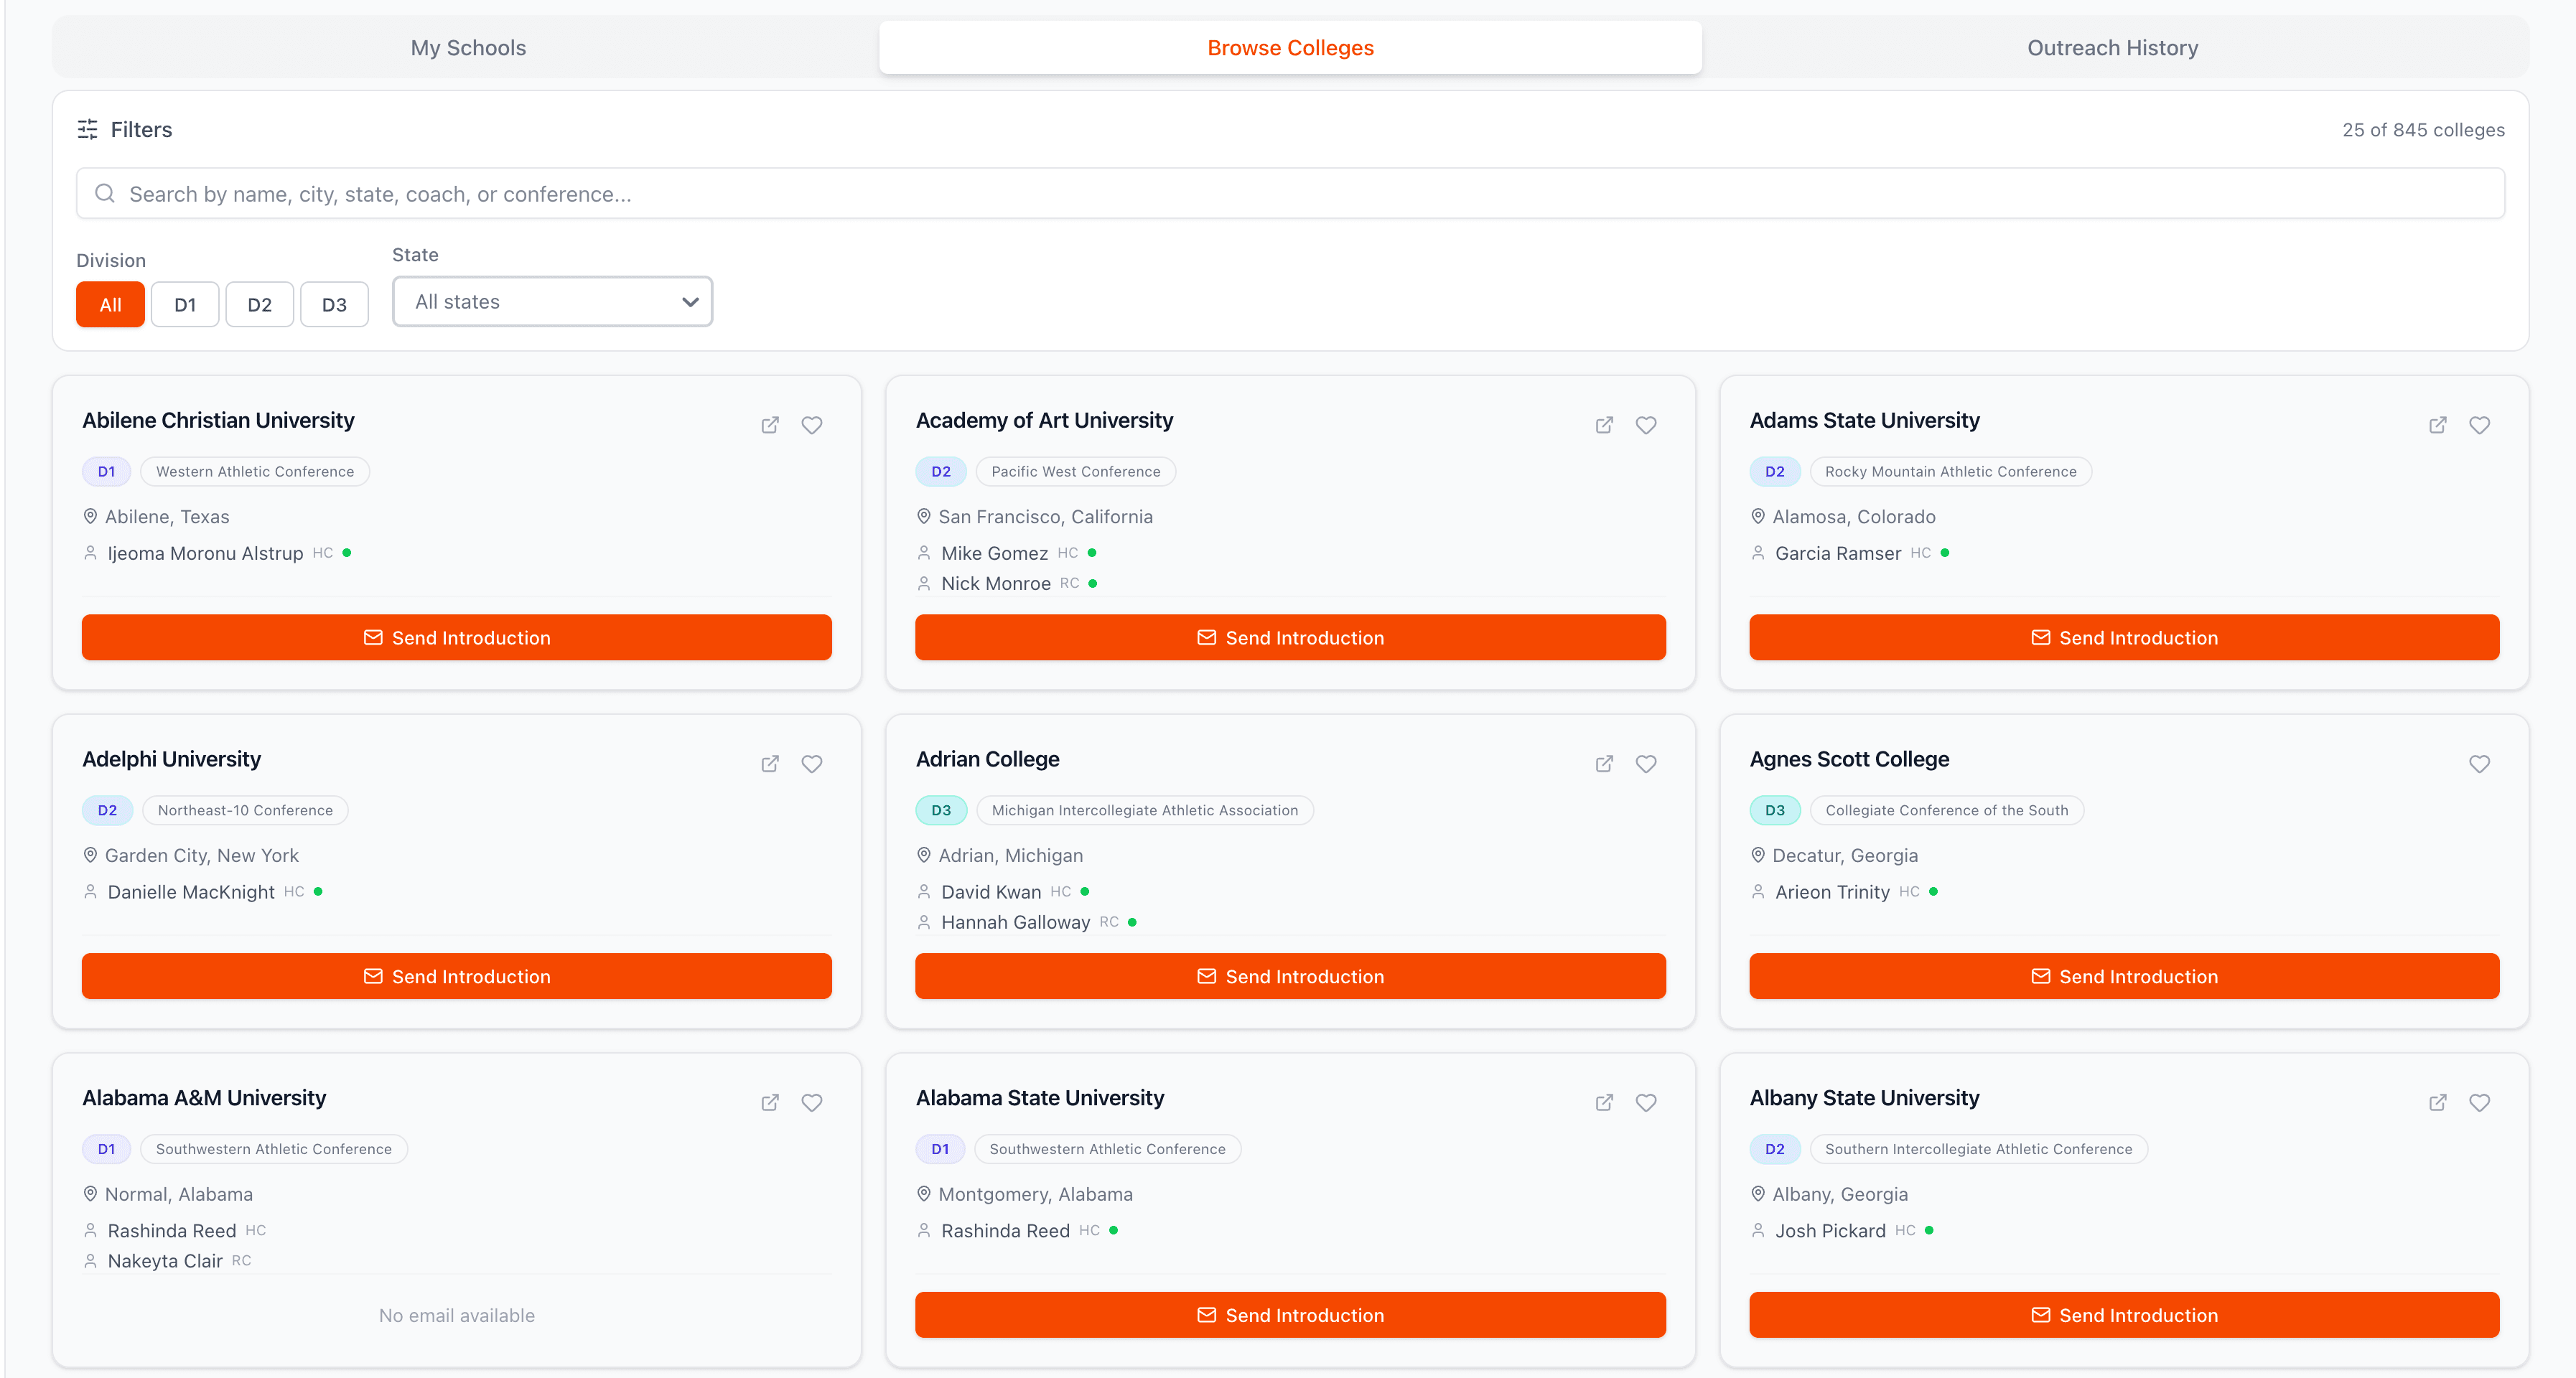
Use the division and state filters to narrow your search. Select one or more divisions (D1, D2, D3) and filter by state to find programs that match your academic and athletic goals. Filters combine together so you can get very specific, for example all D2 programs in California.
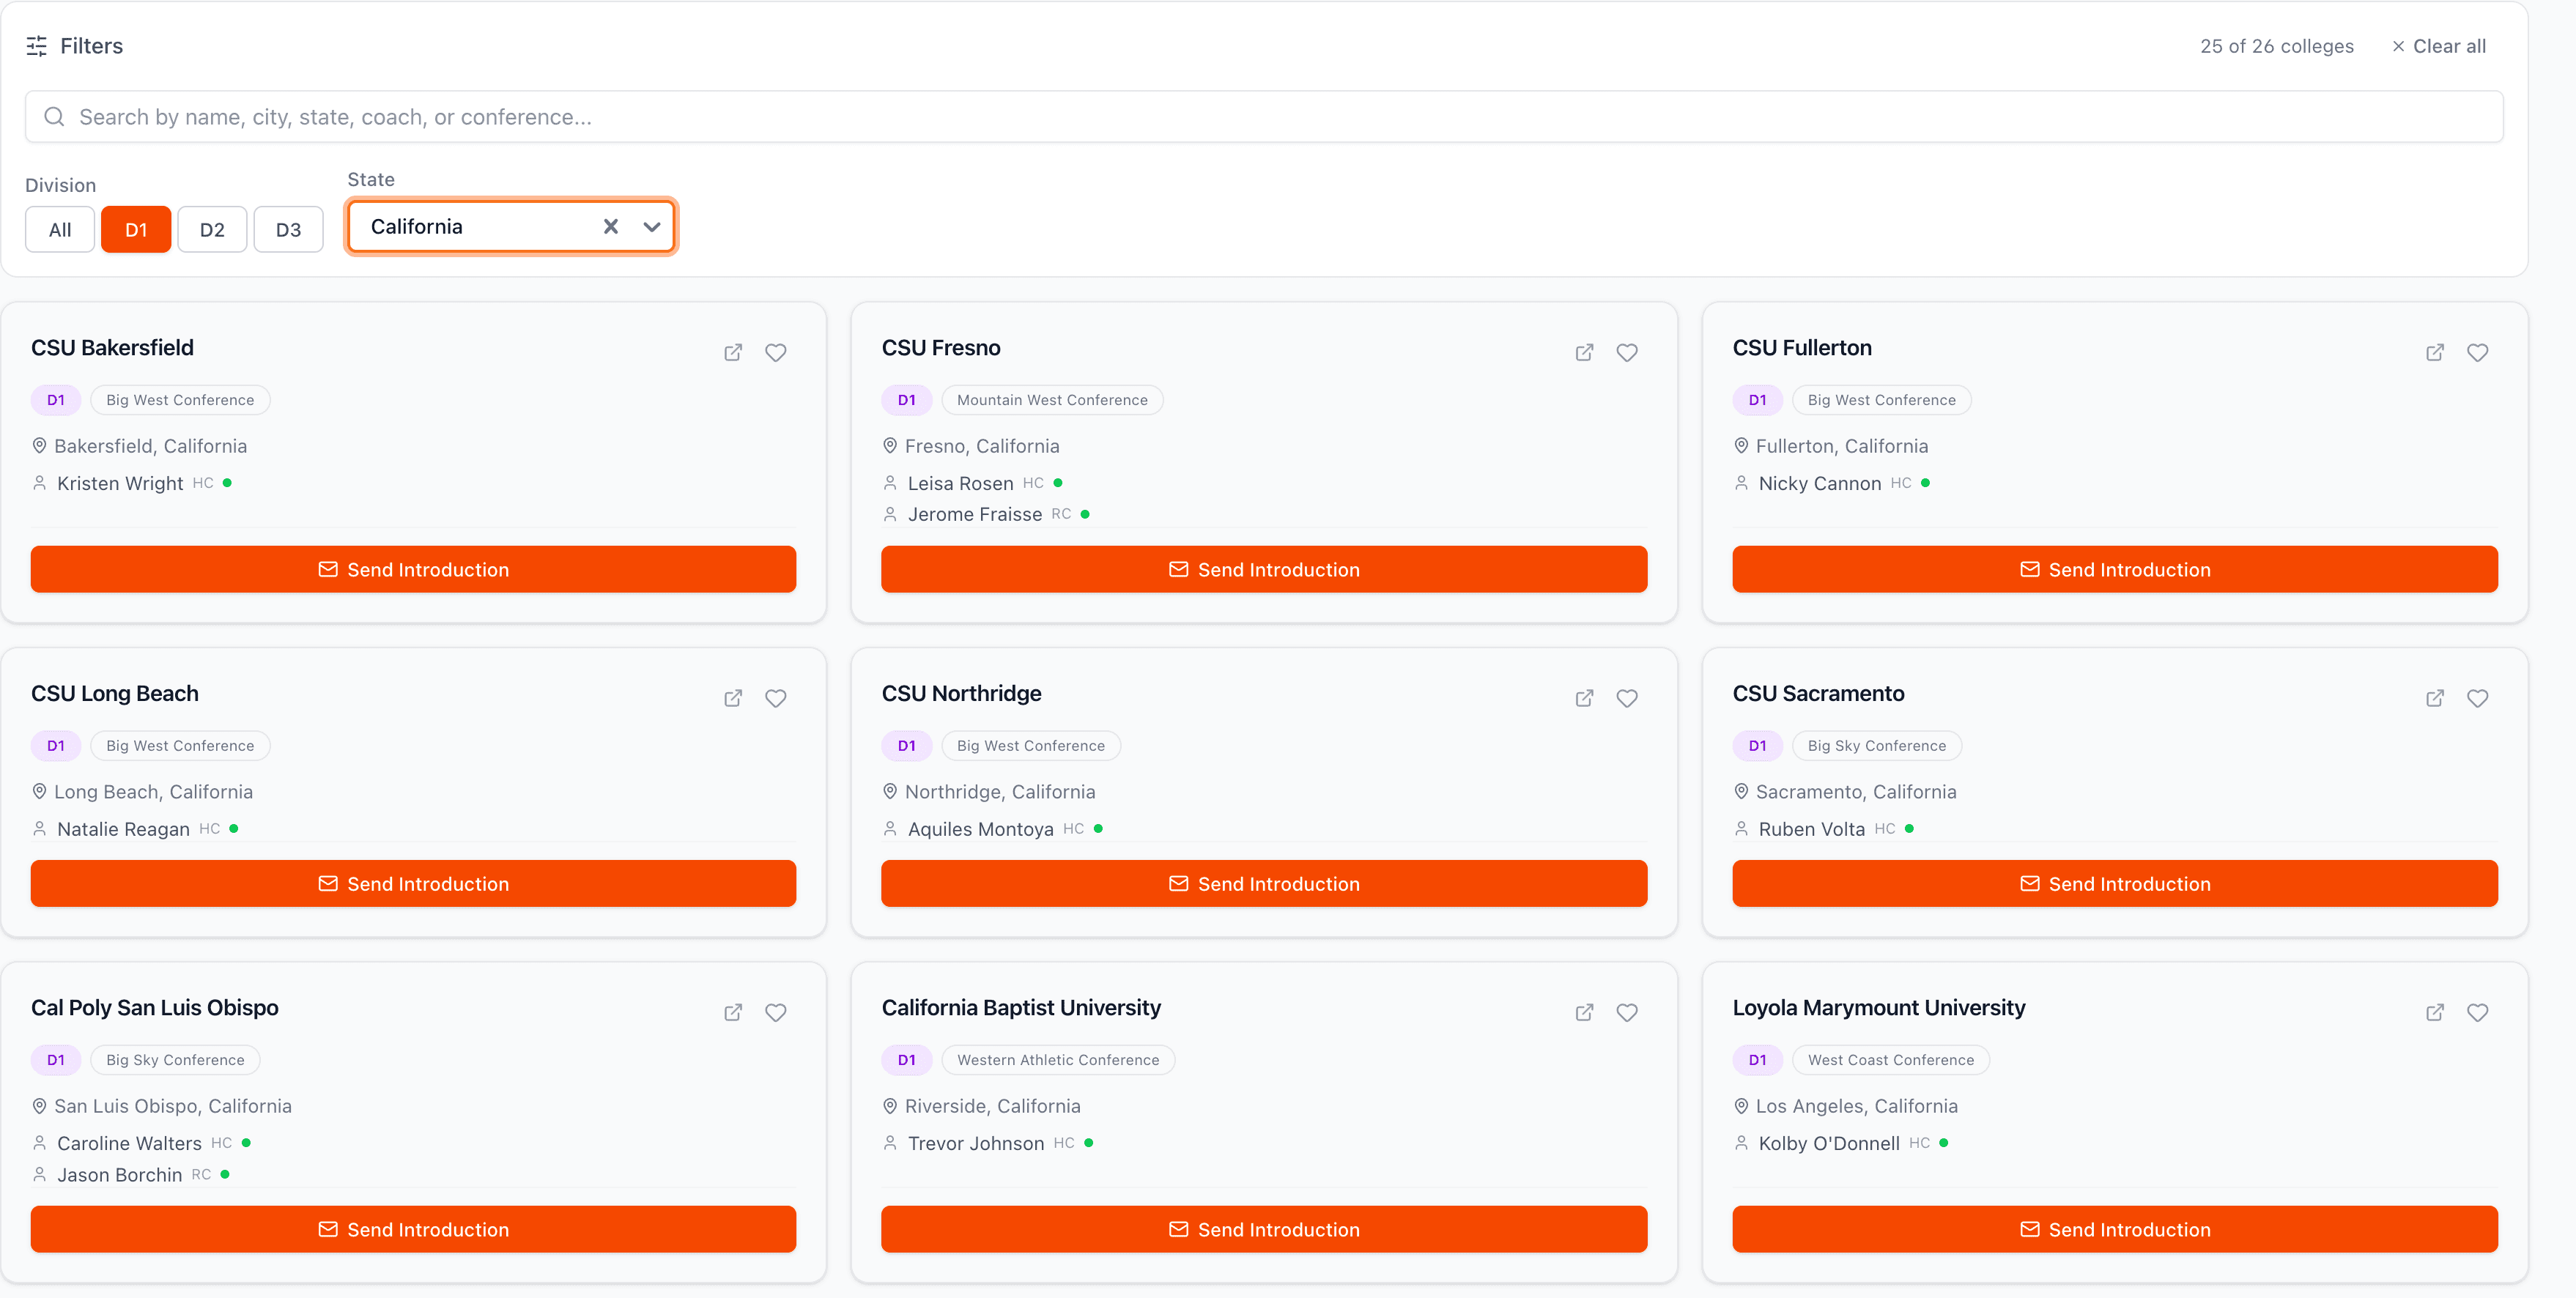
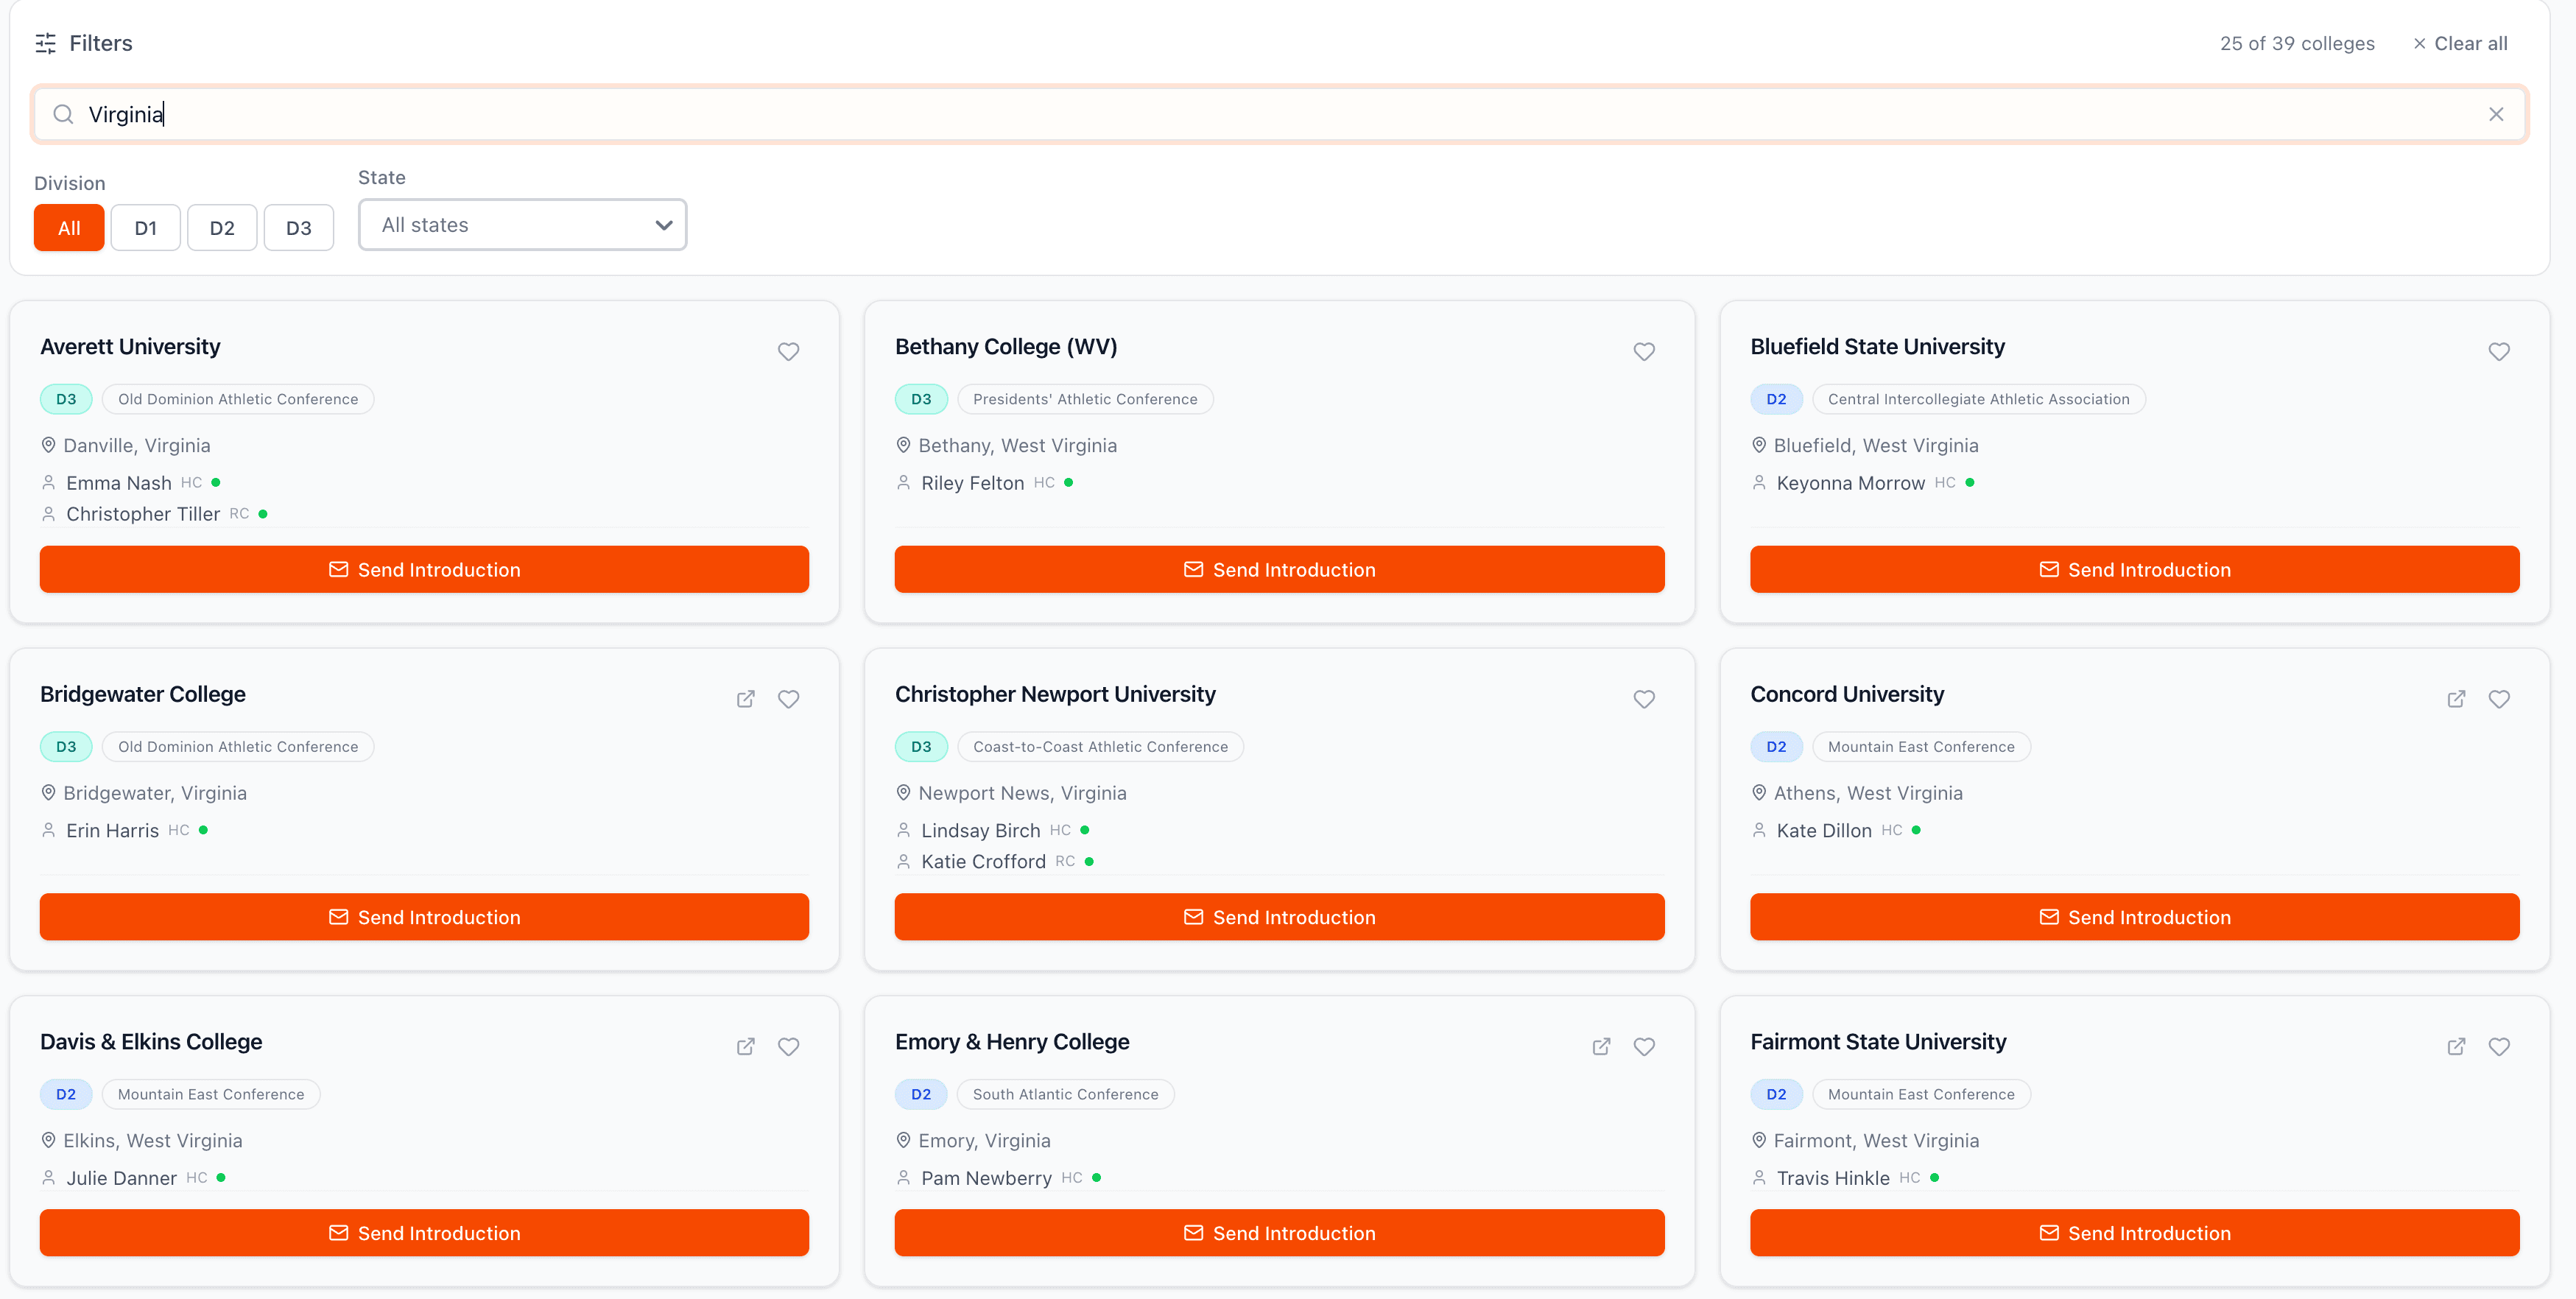
Use the search bar to find specific colleges by name, city, state, head coach name, or conference. This is the fastest way to find a specific program you already have in mind. The search results will update in real time as you type.
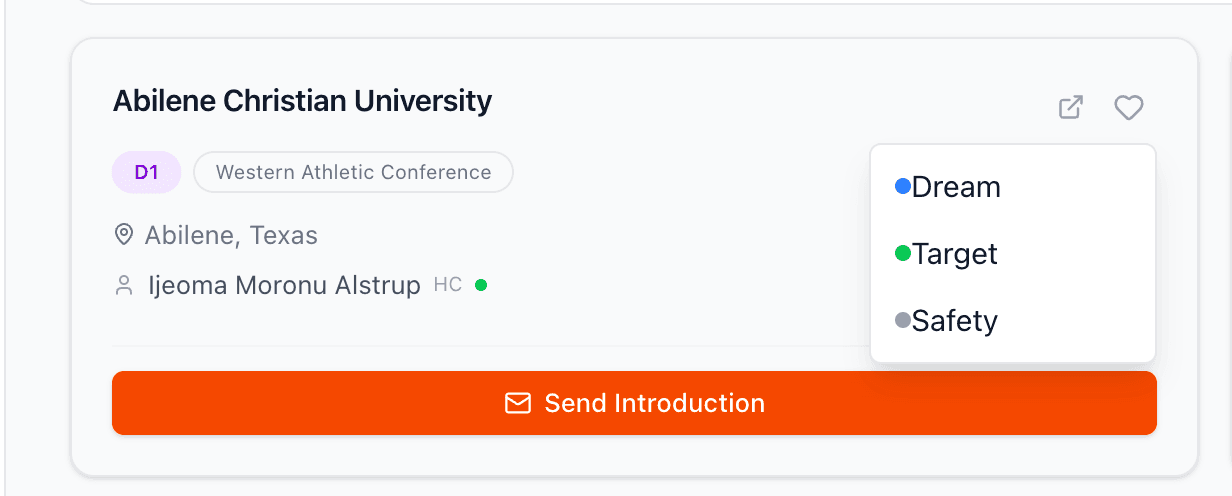
Found a school you're interested in? Click the heart icon to save it to your favorites. You'll be prompted to assign it to a tier: Dream (reach schools), Target (good fit schools), or Safety (likely to be admitted schools). This three-tier strategy helps you organize a balanced recruiting approach.
The My Schools section displays all your favorited programs organized by tier. Dream schools have a purple border, Target schools have blue, and Safety schools have green.
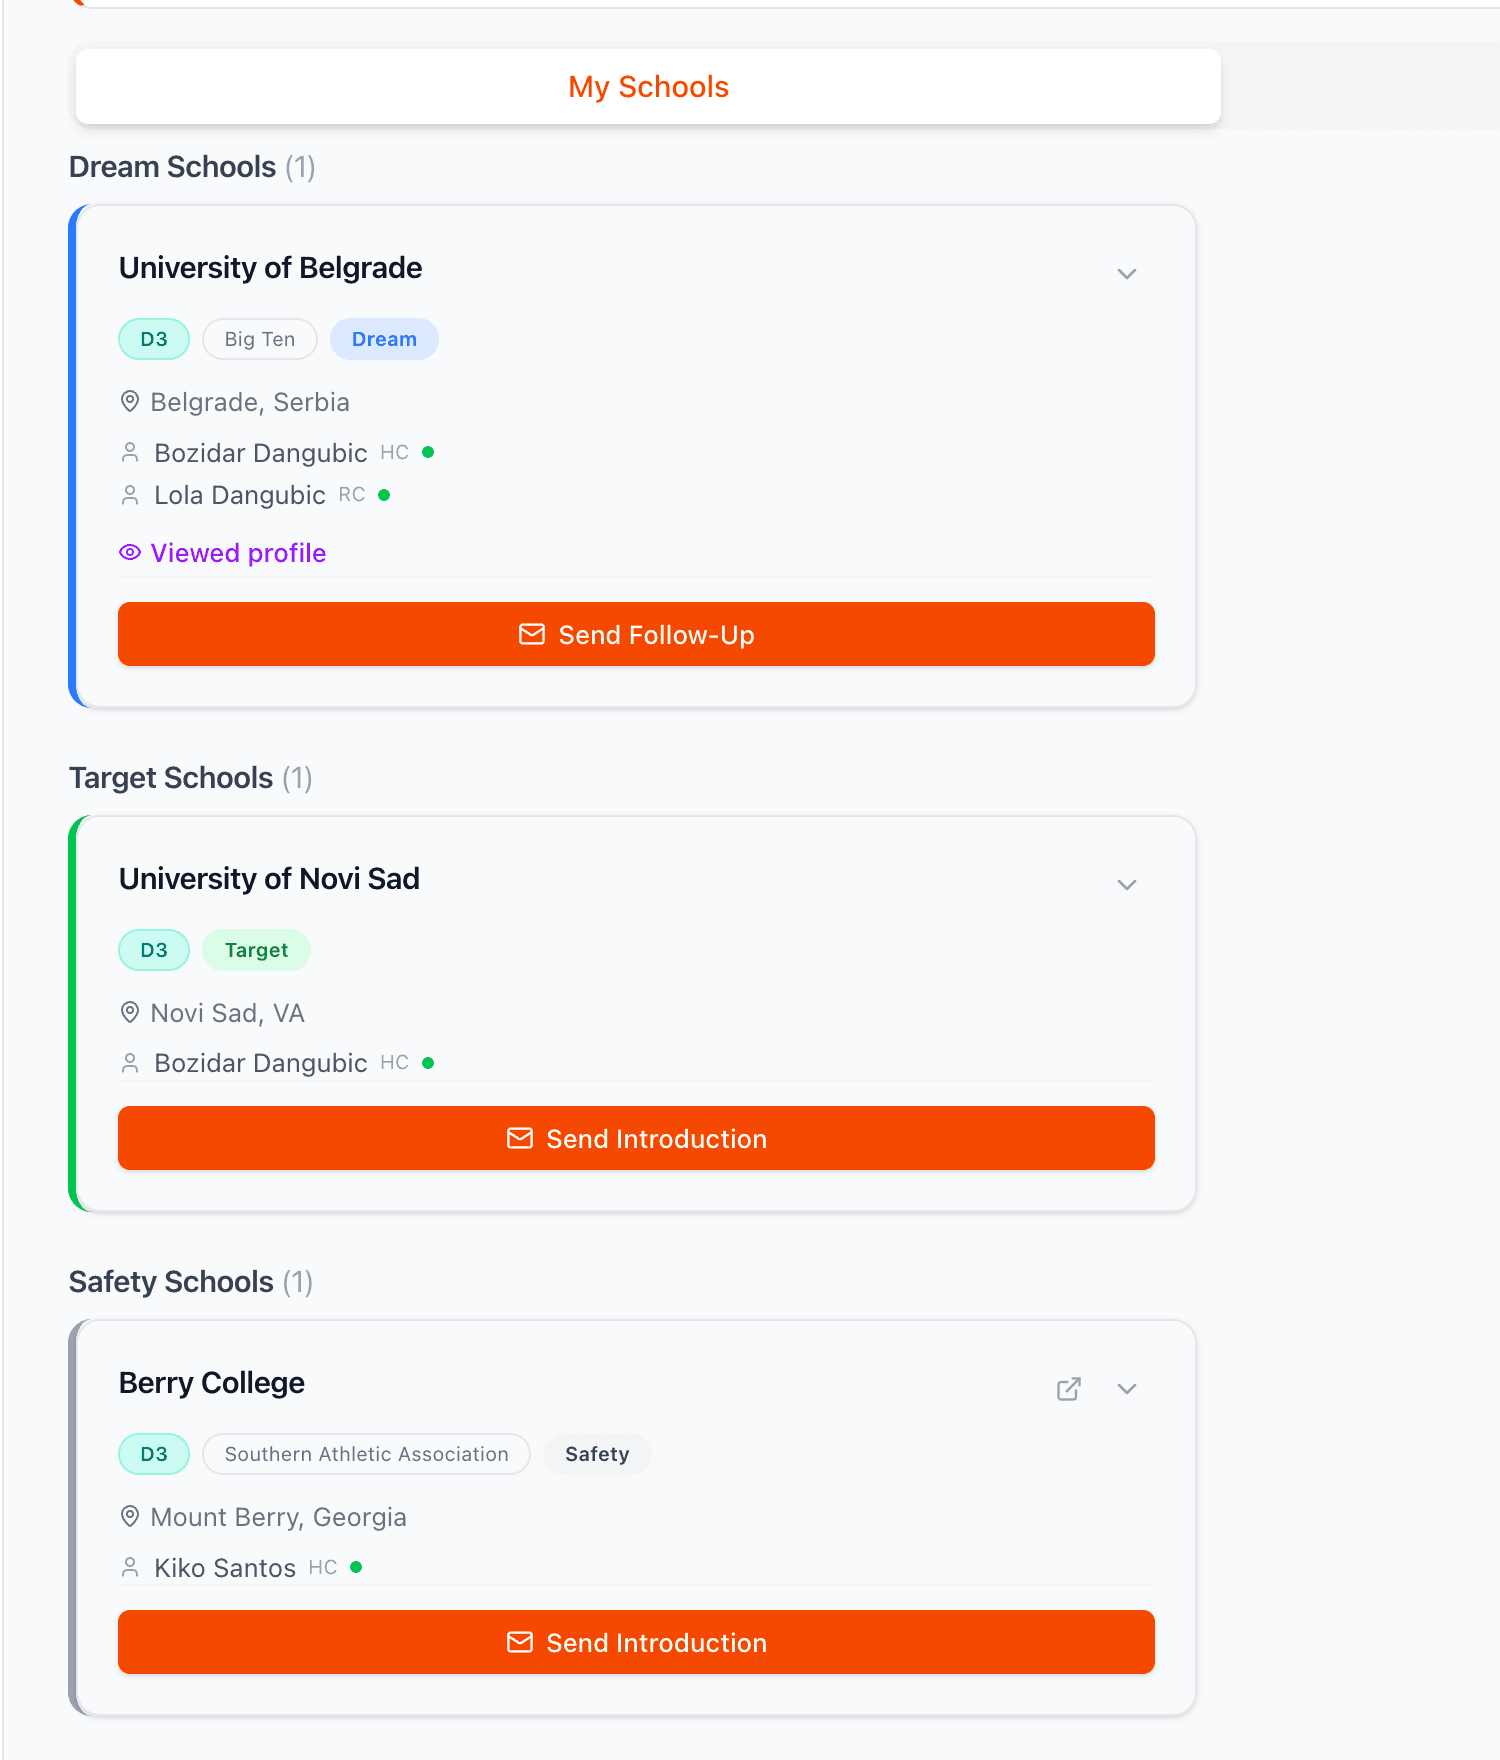
You can change a school's tier or remove it from your favorites at any time. Click on a favorited school to see options for reclassifying it to a different tier or removing it entirely. Your recruiting list should evolve as you learn more about each program.

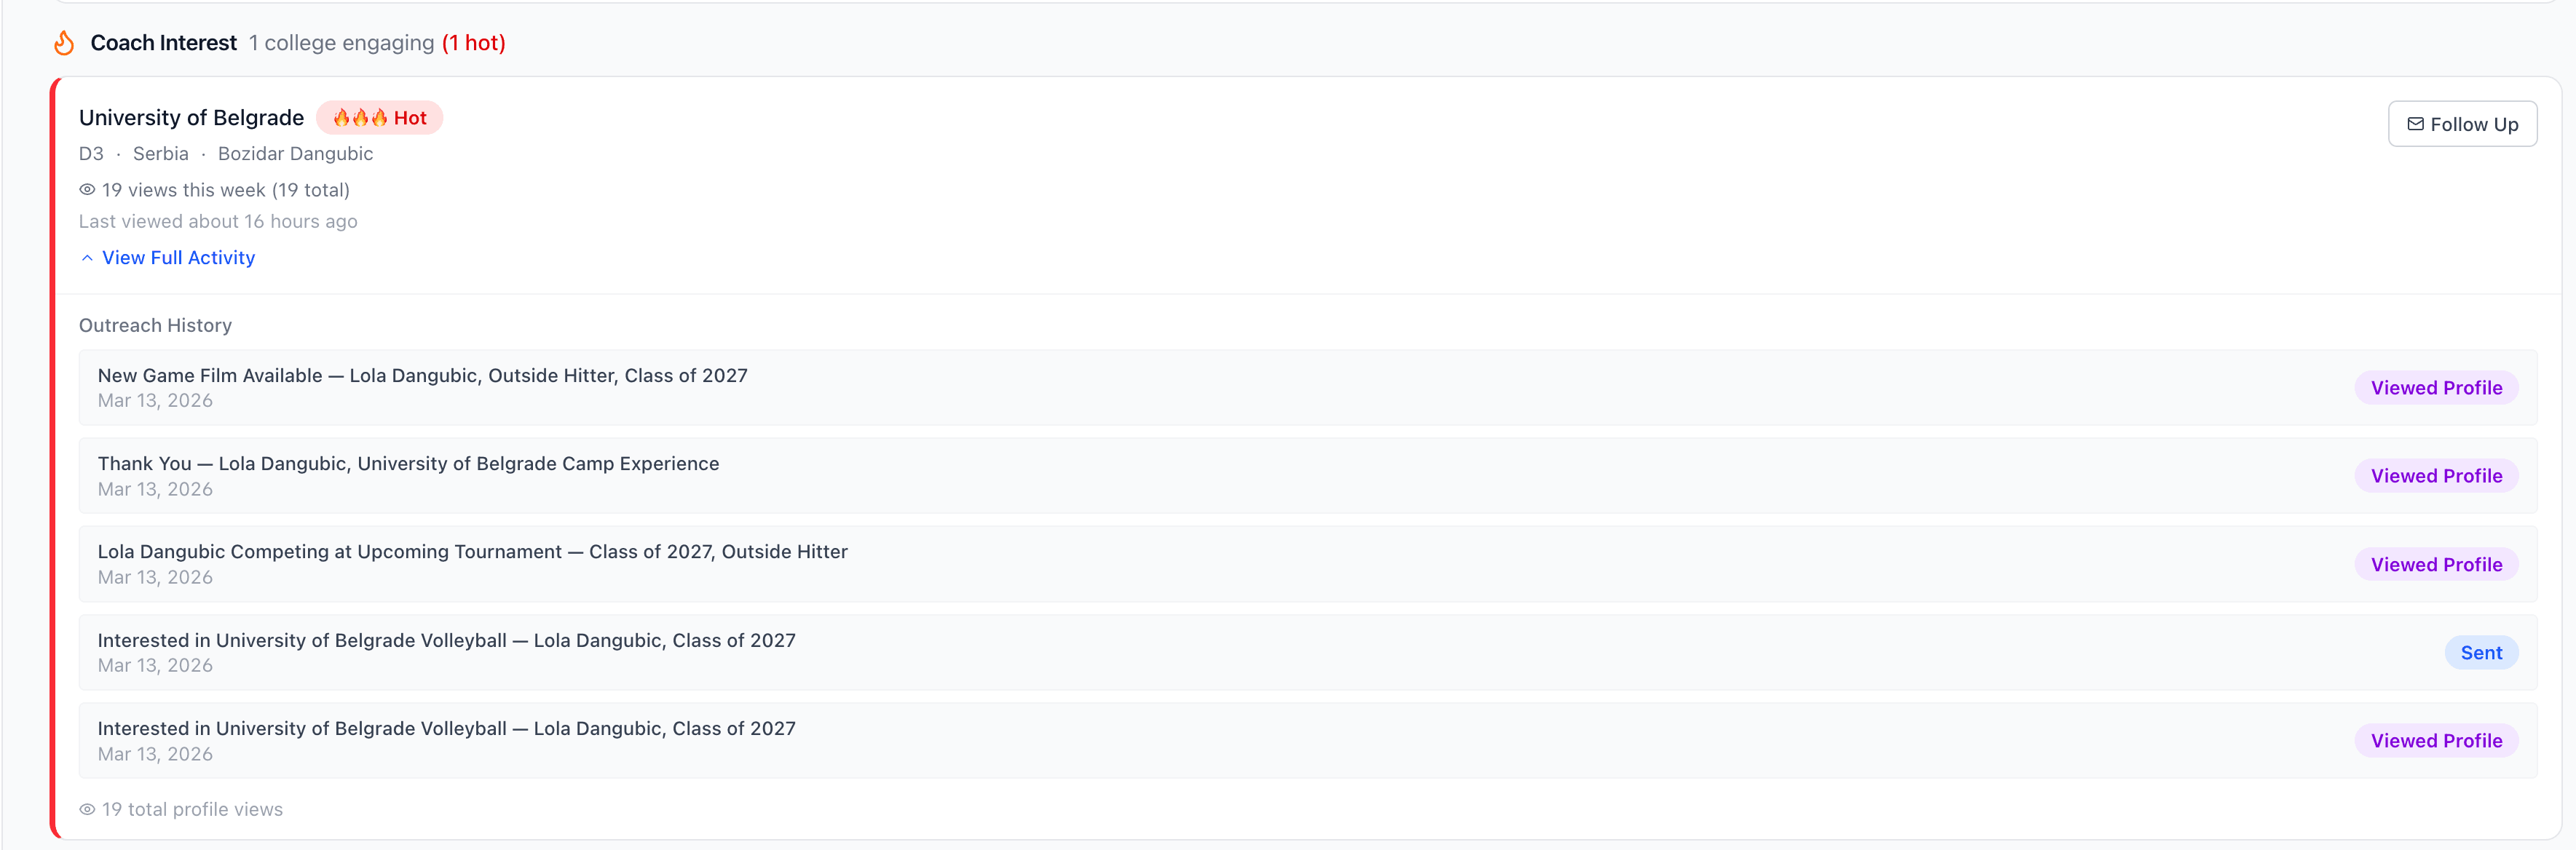
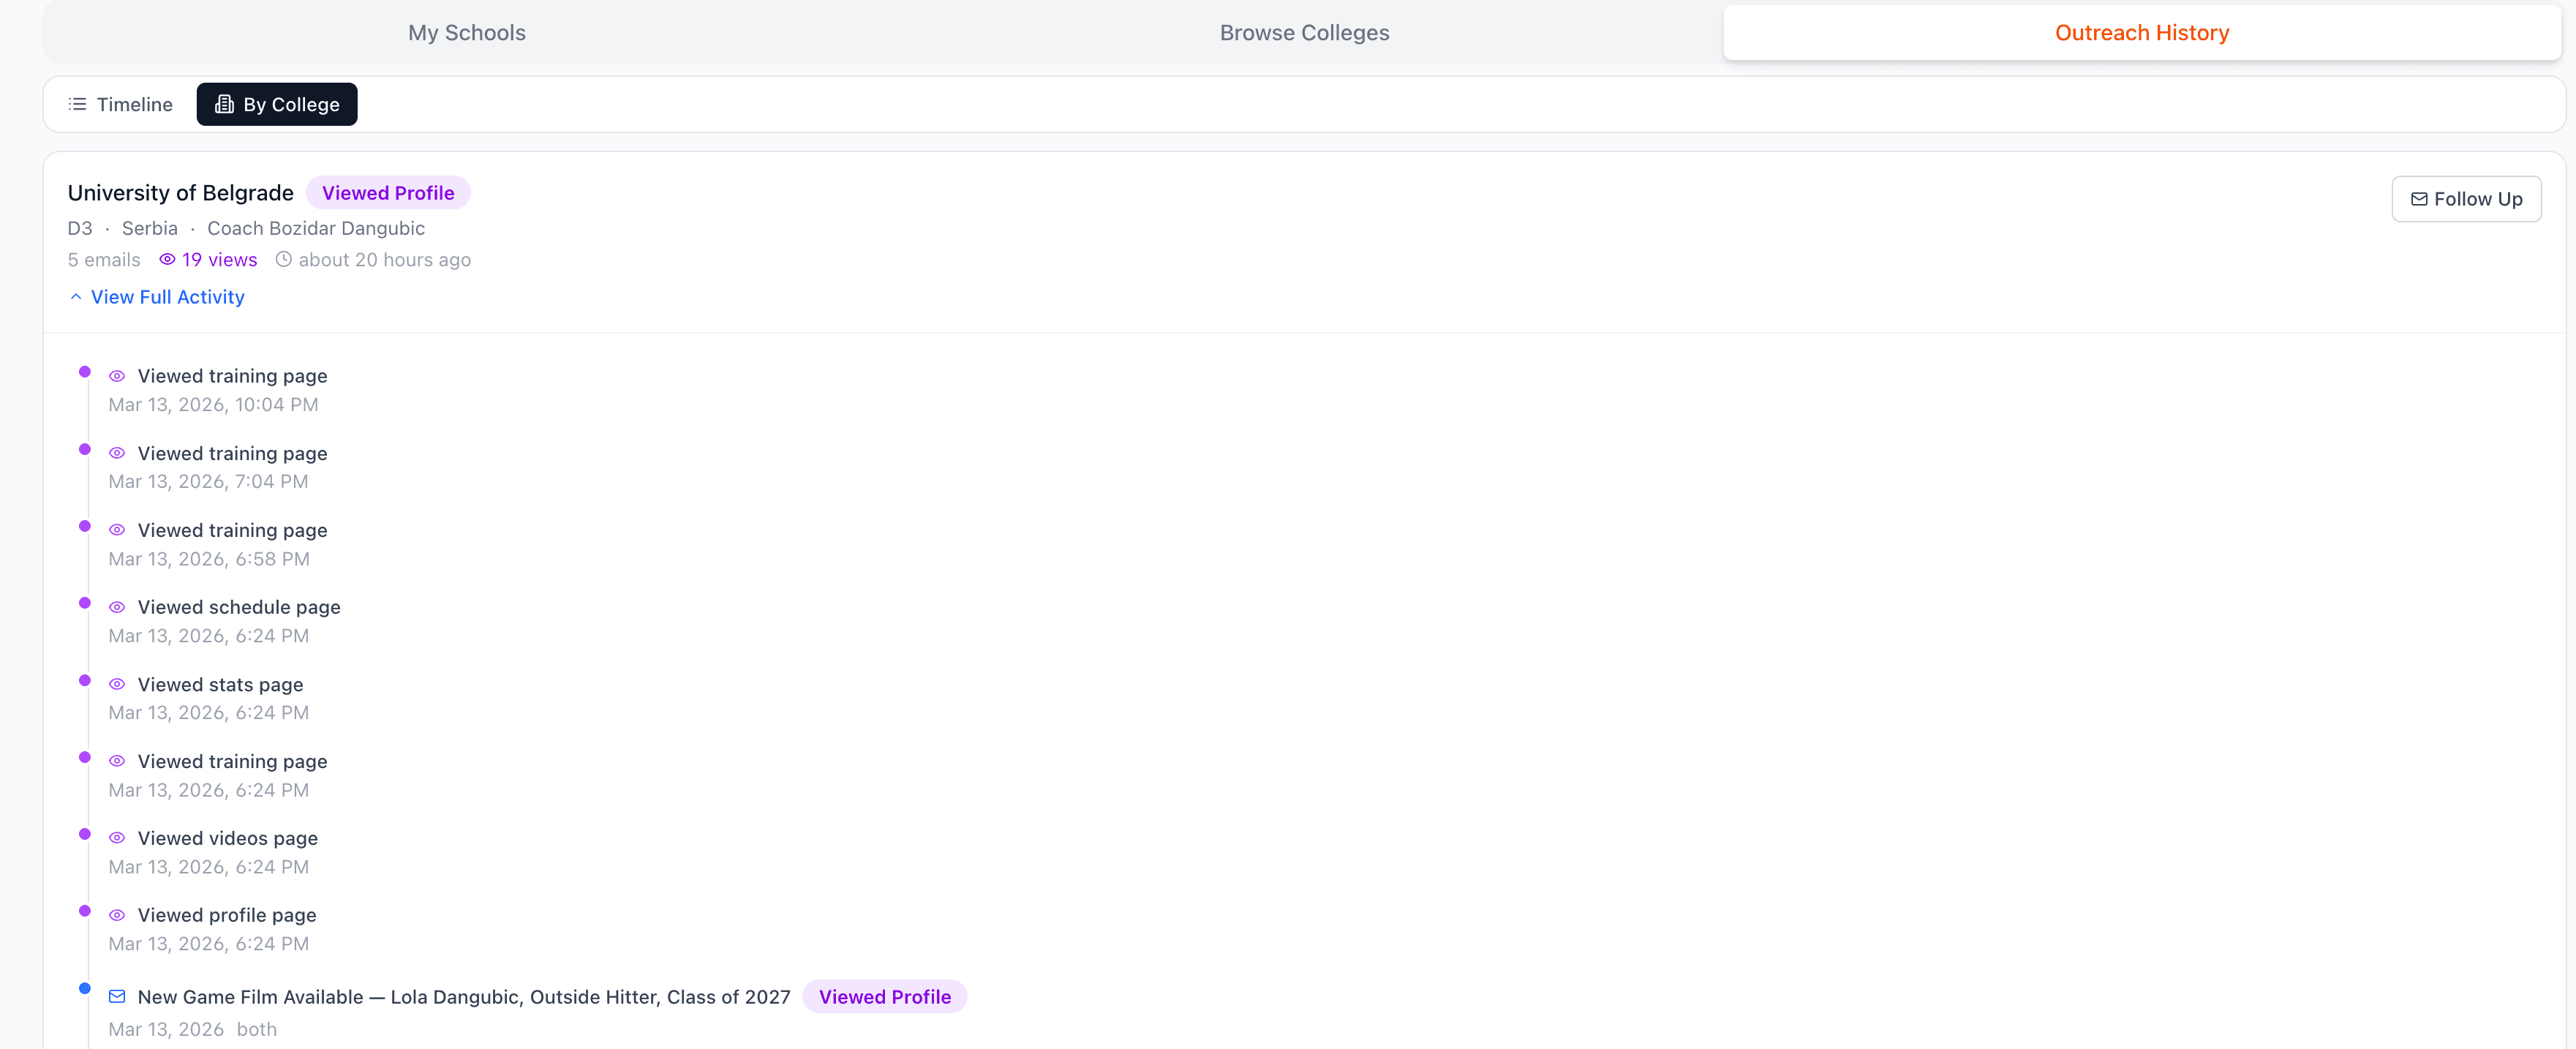
Hot Leads shows you which college coaches have been engaging with your profile. When a coach views your showcase page, it gets tracked and displayed here with a heat level indicating their interest. More views and deeper engagement mean a higher heat level, shown with fire emojis.

Click on any hot lead to see detailed activity for that coach. You can see exactly when they visited your profile, which pages they viewed, and how much time they spent. This insight helps you understand which coaches are most interested and tailor your follow-up outreach accordingly.
The Outreach History timeline shows a chronological view of all your recruiting emails. Each entry shows the school, date sent, and current status. Status badges indicate whether the email was sent, if the coach viewed your profile after receiving it, or if there has been no response yet.
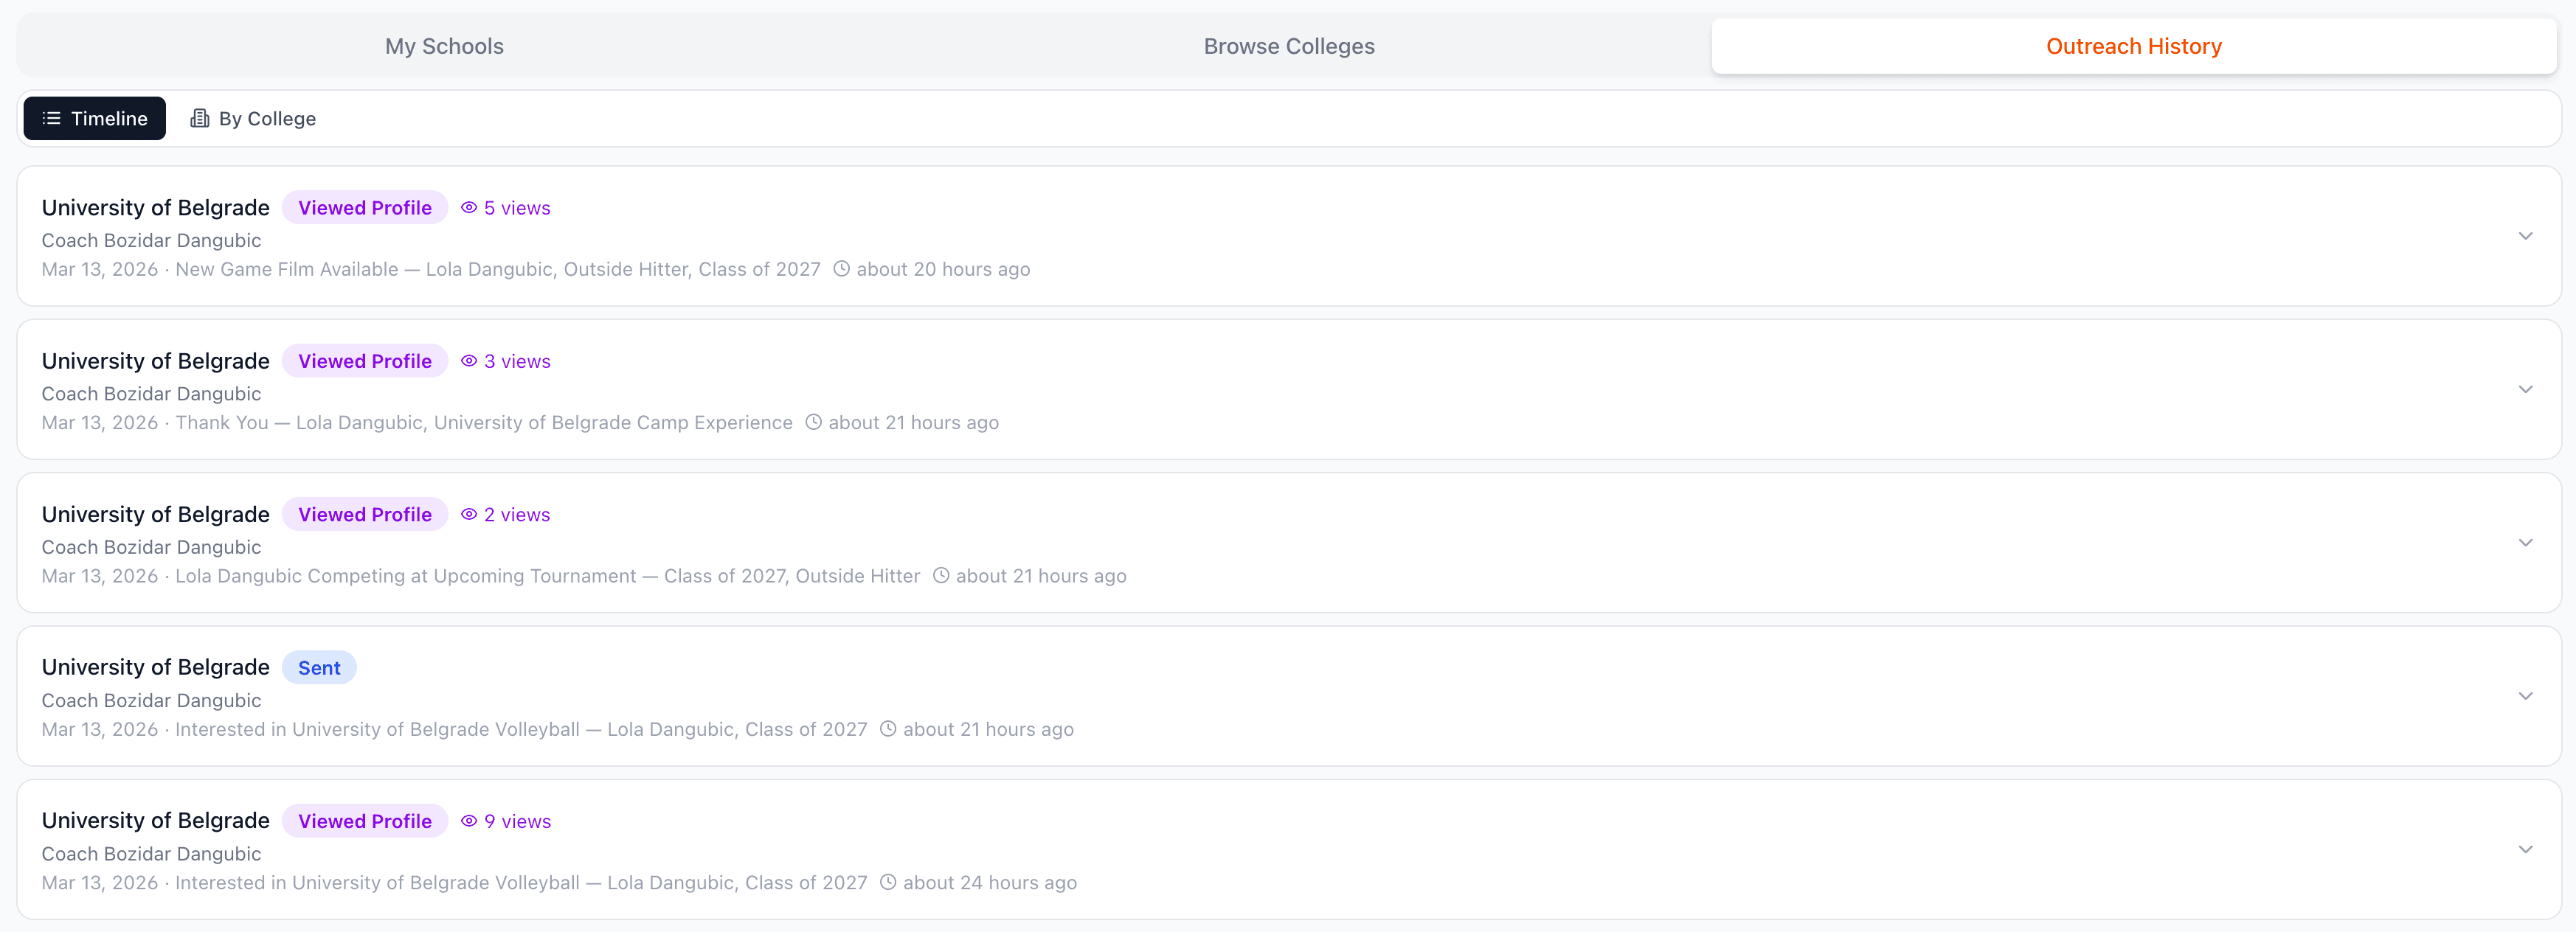
Switch to the By College view to see all your outreach grouped by school. This view is helpful for tracking your communication history with each program and making sure you are following up appropriately without over-contacting any single school.
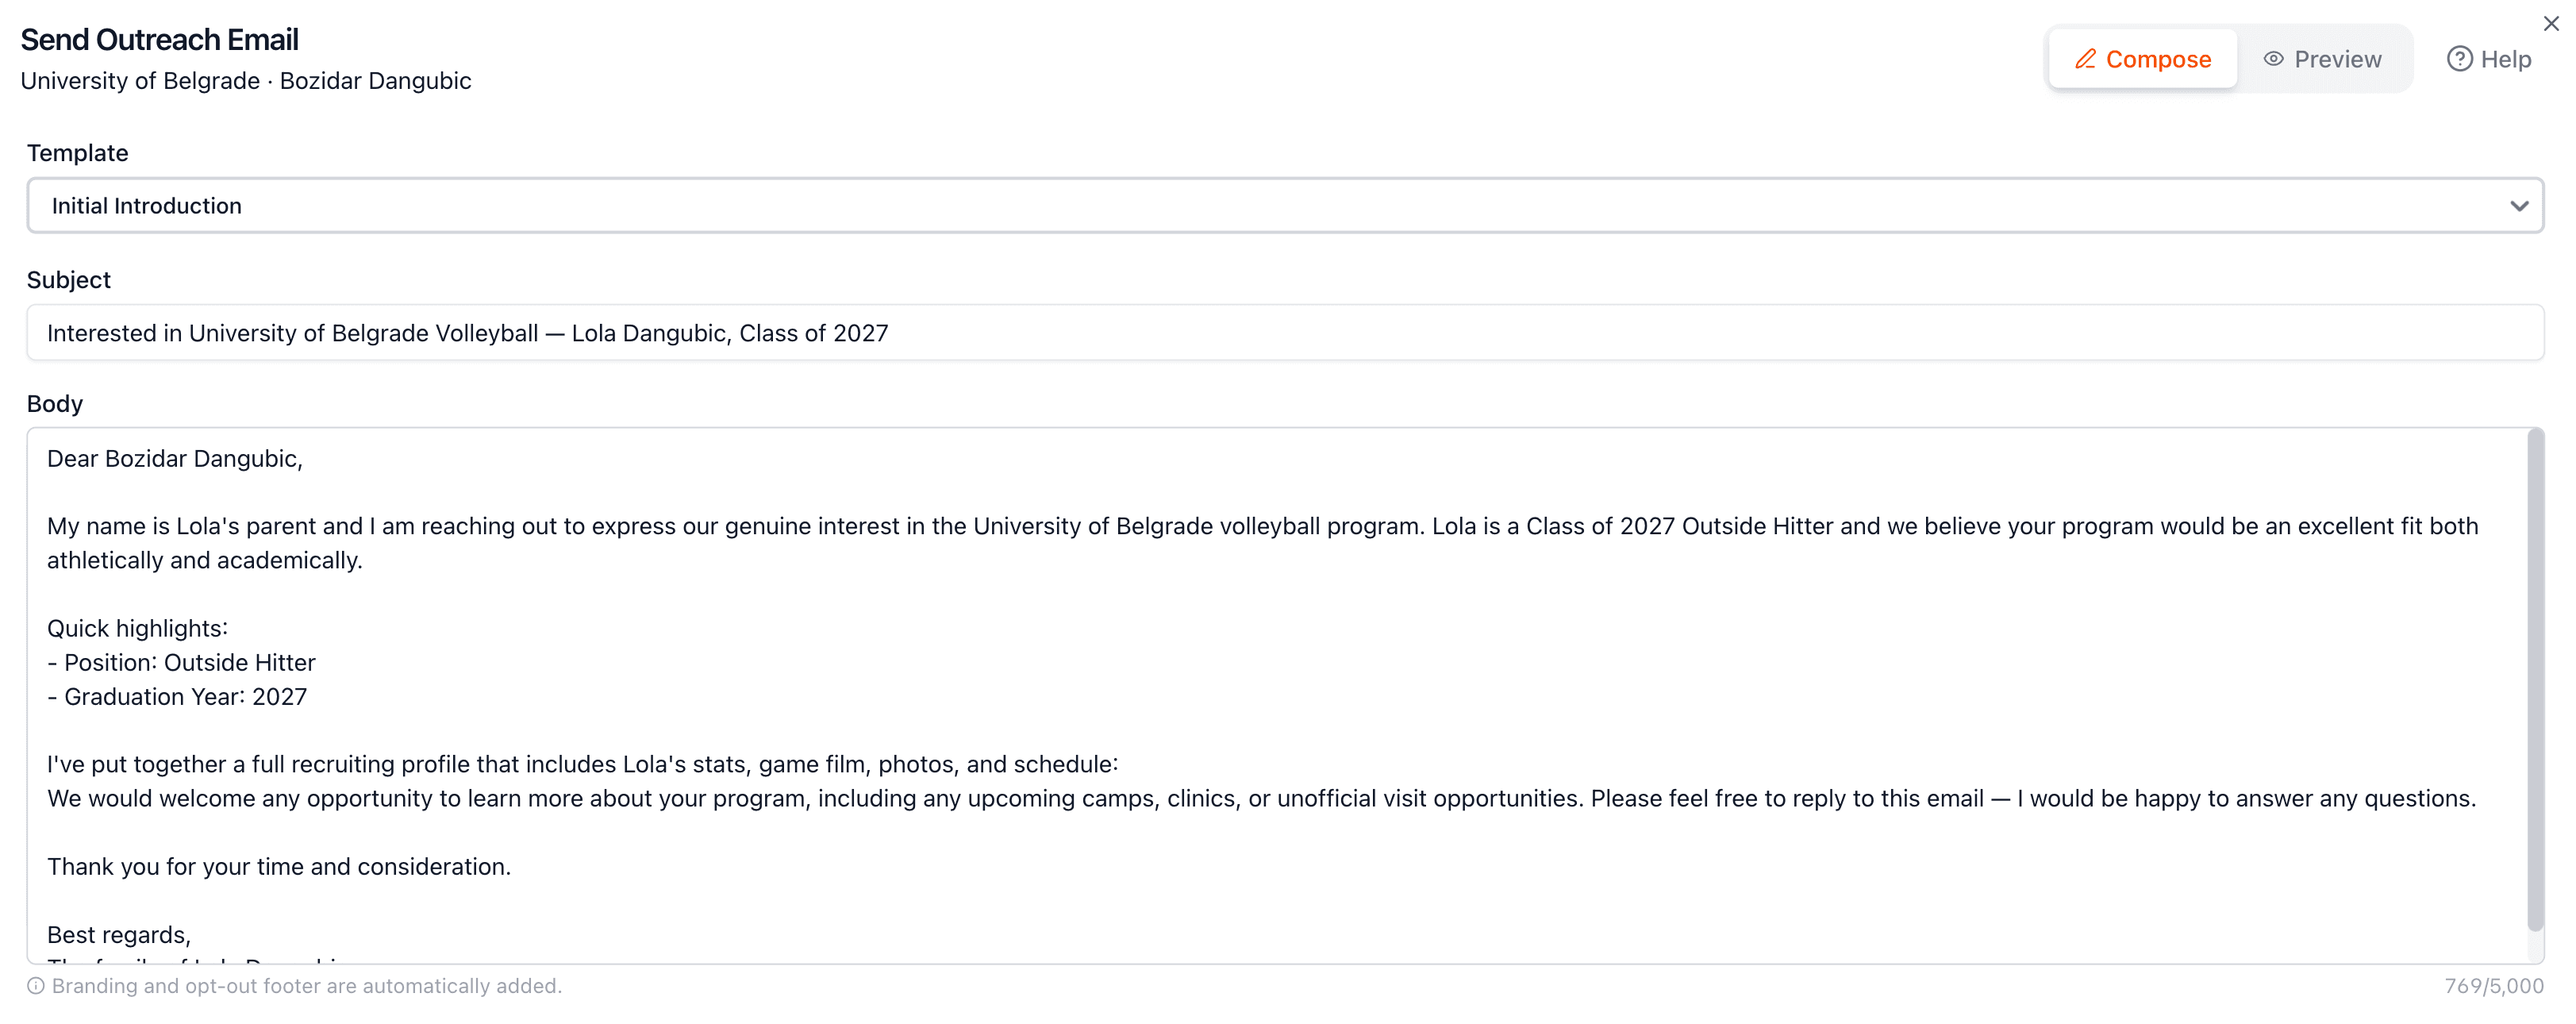
The Compose feature lets you draft and send professional recruiting emails directly through the platform. Select a school from your favorites or the college browser, and the composer opens with the coach's information pre-filled.
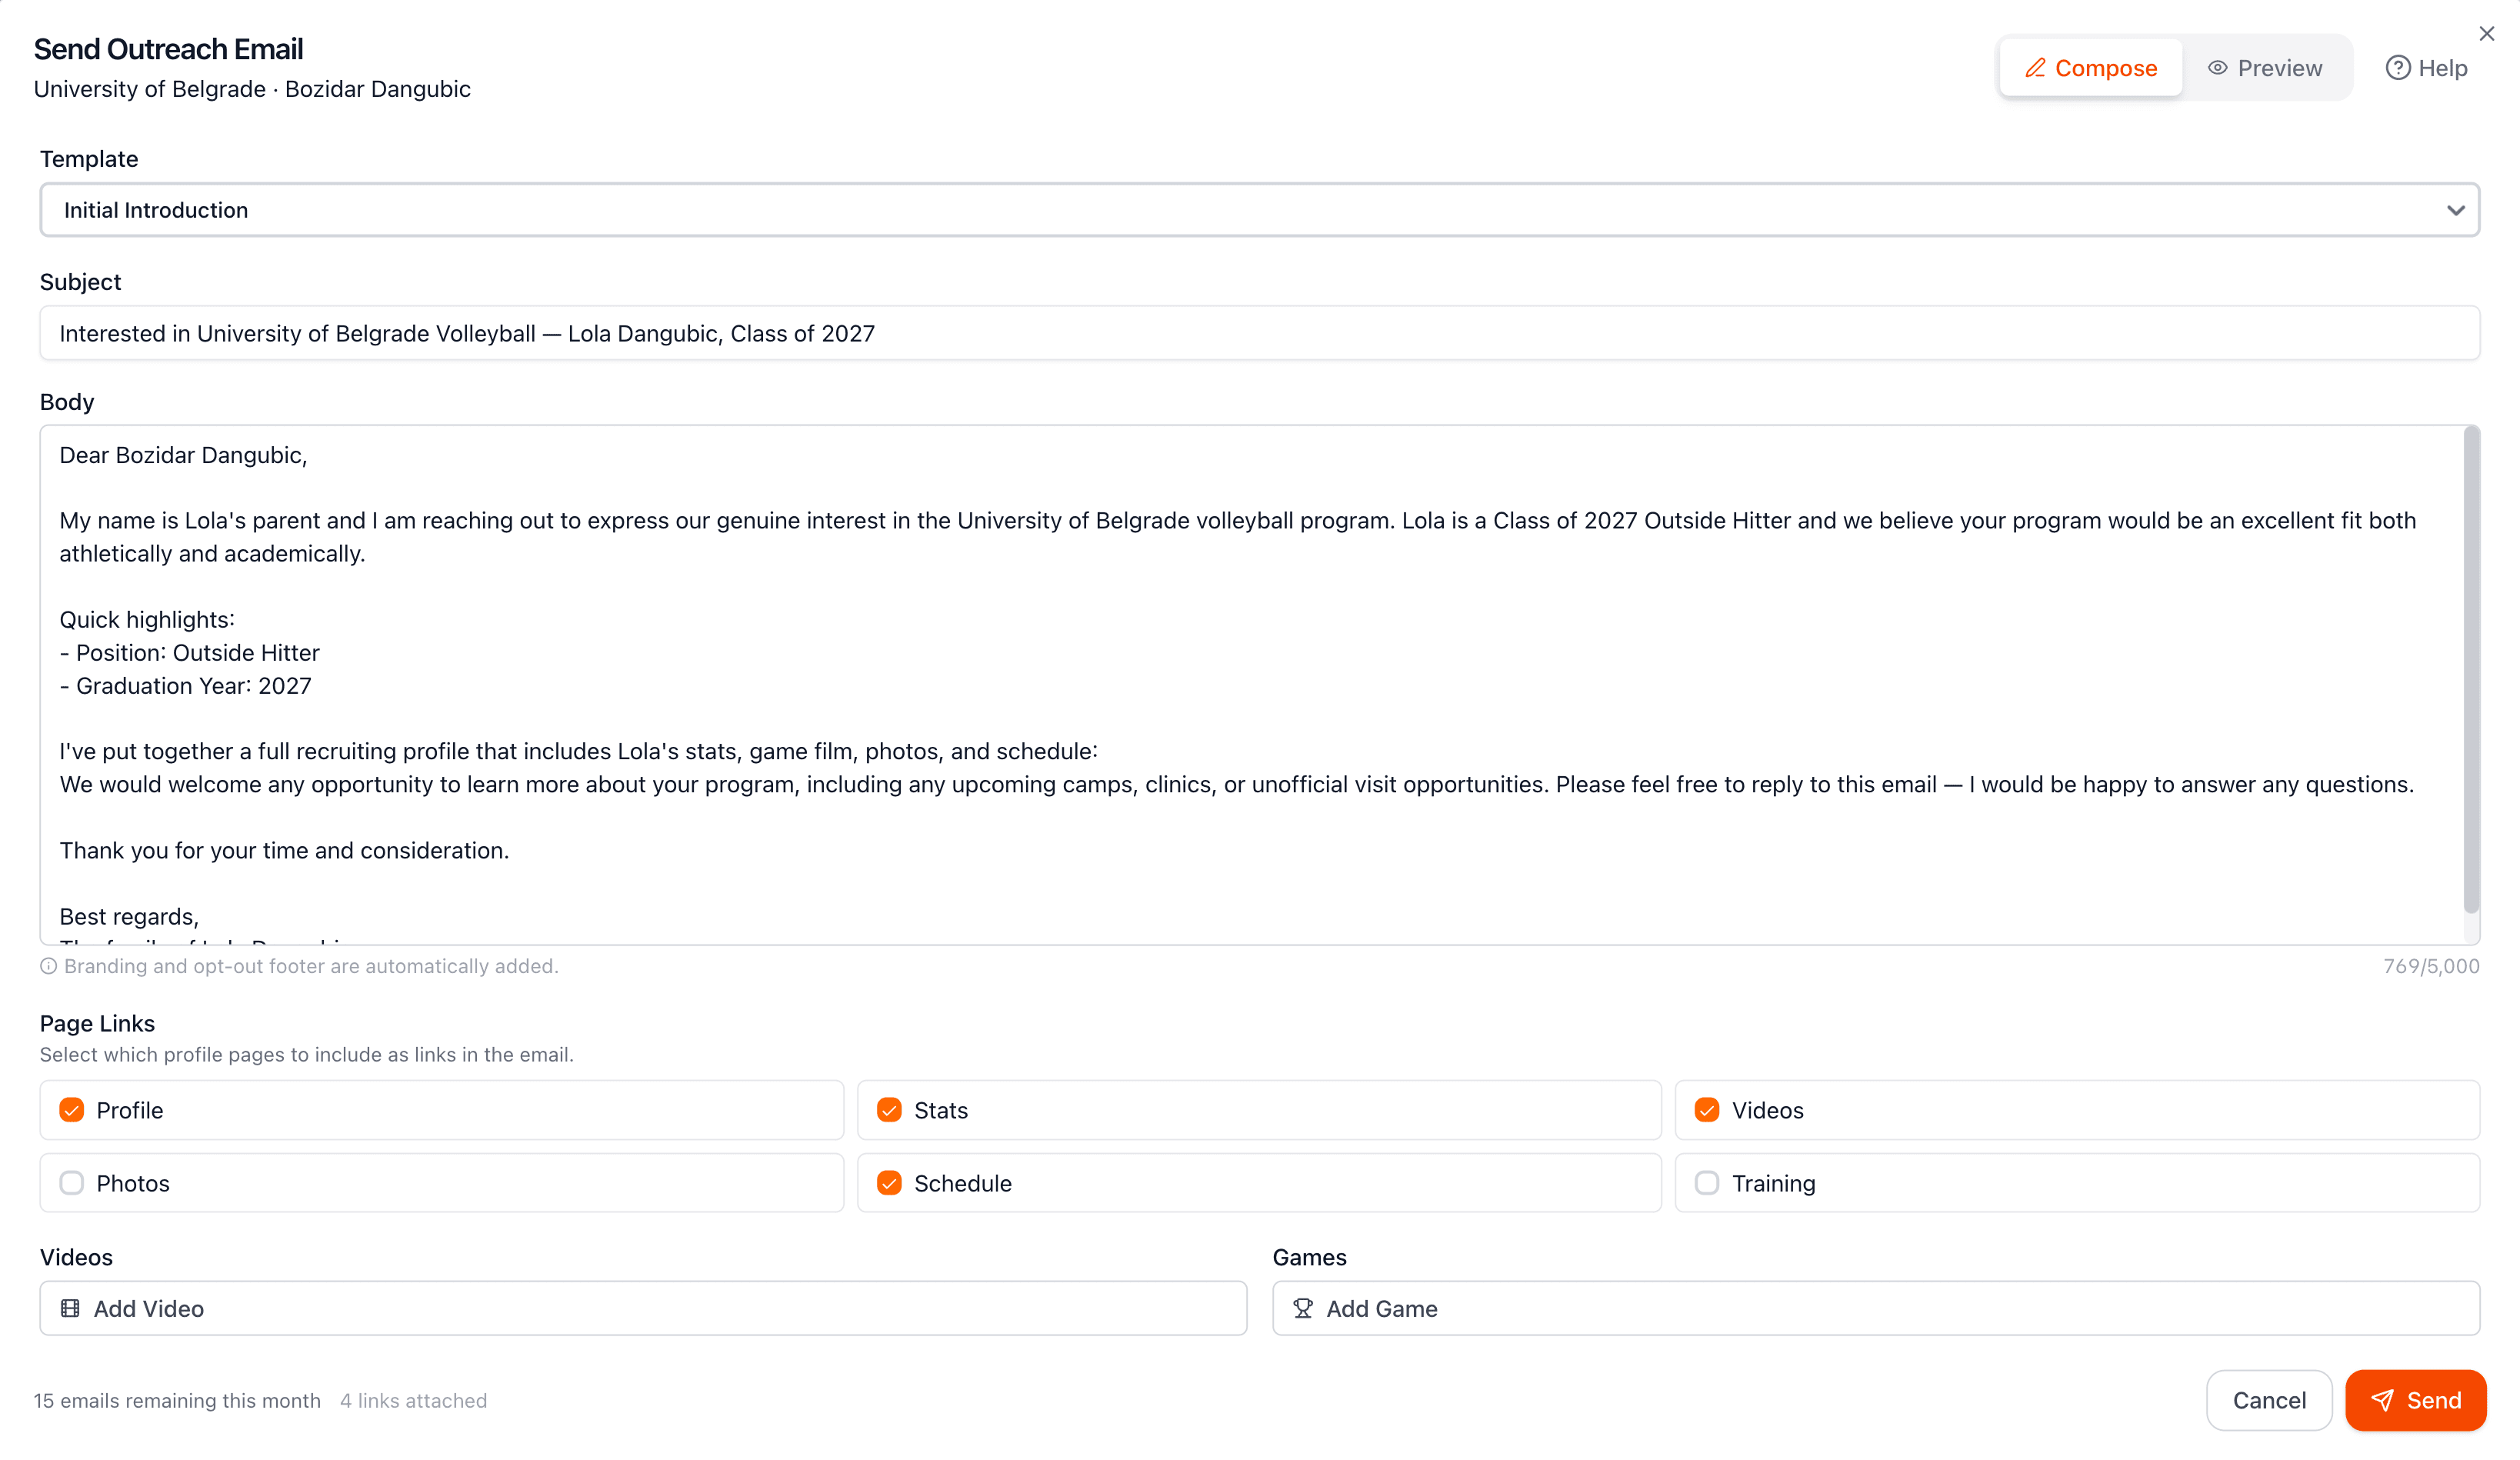
Start with one of our proven email templates designed specifically for volleyball recruiting. Each template includes a professional subject line and body text that you can customize. Edit the template to add personal details about why you are interested in that specific program and what makes you a good fit.
Choose which pages from your showcase to include in your email. The composer lists all your available profile pages, such as stats, photos, videos, and your main profile. Select the pages that best represent your abilities and are most relevant to each coach.

Add links to your highlight videos and recent game film directly in your email. The composer shows your uploaded videos and game entries so you can select the most relevant ones. Coaches consistently say that game film is the most important factor in evaluating recruits.

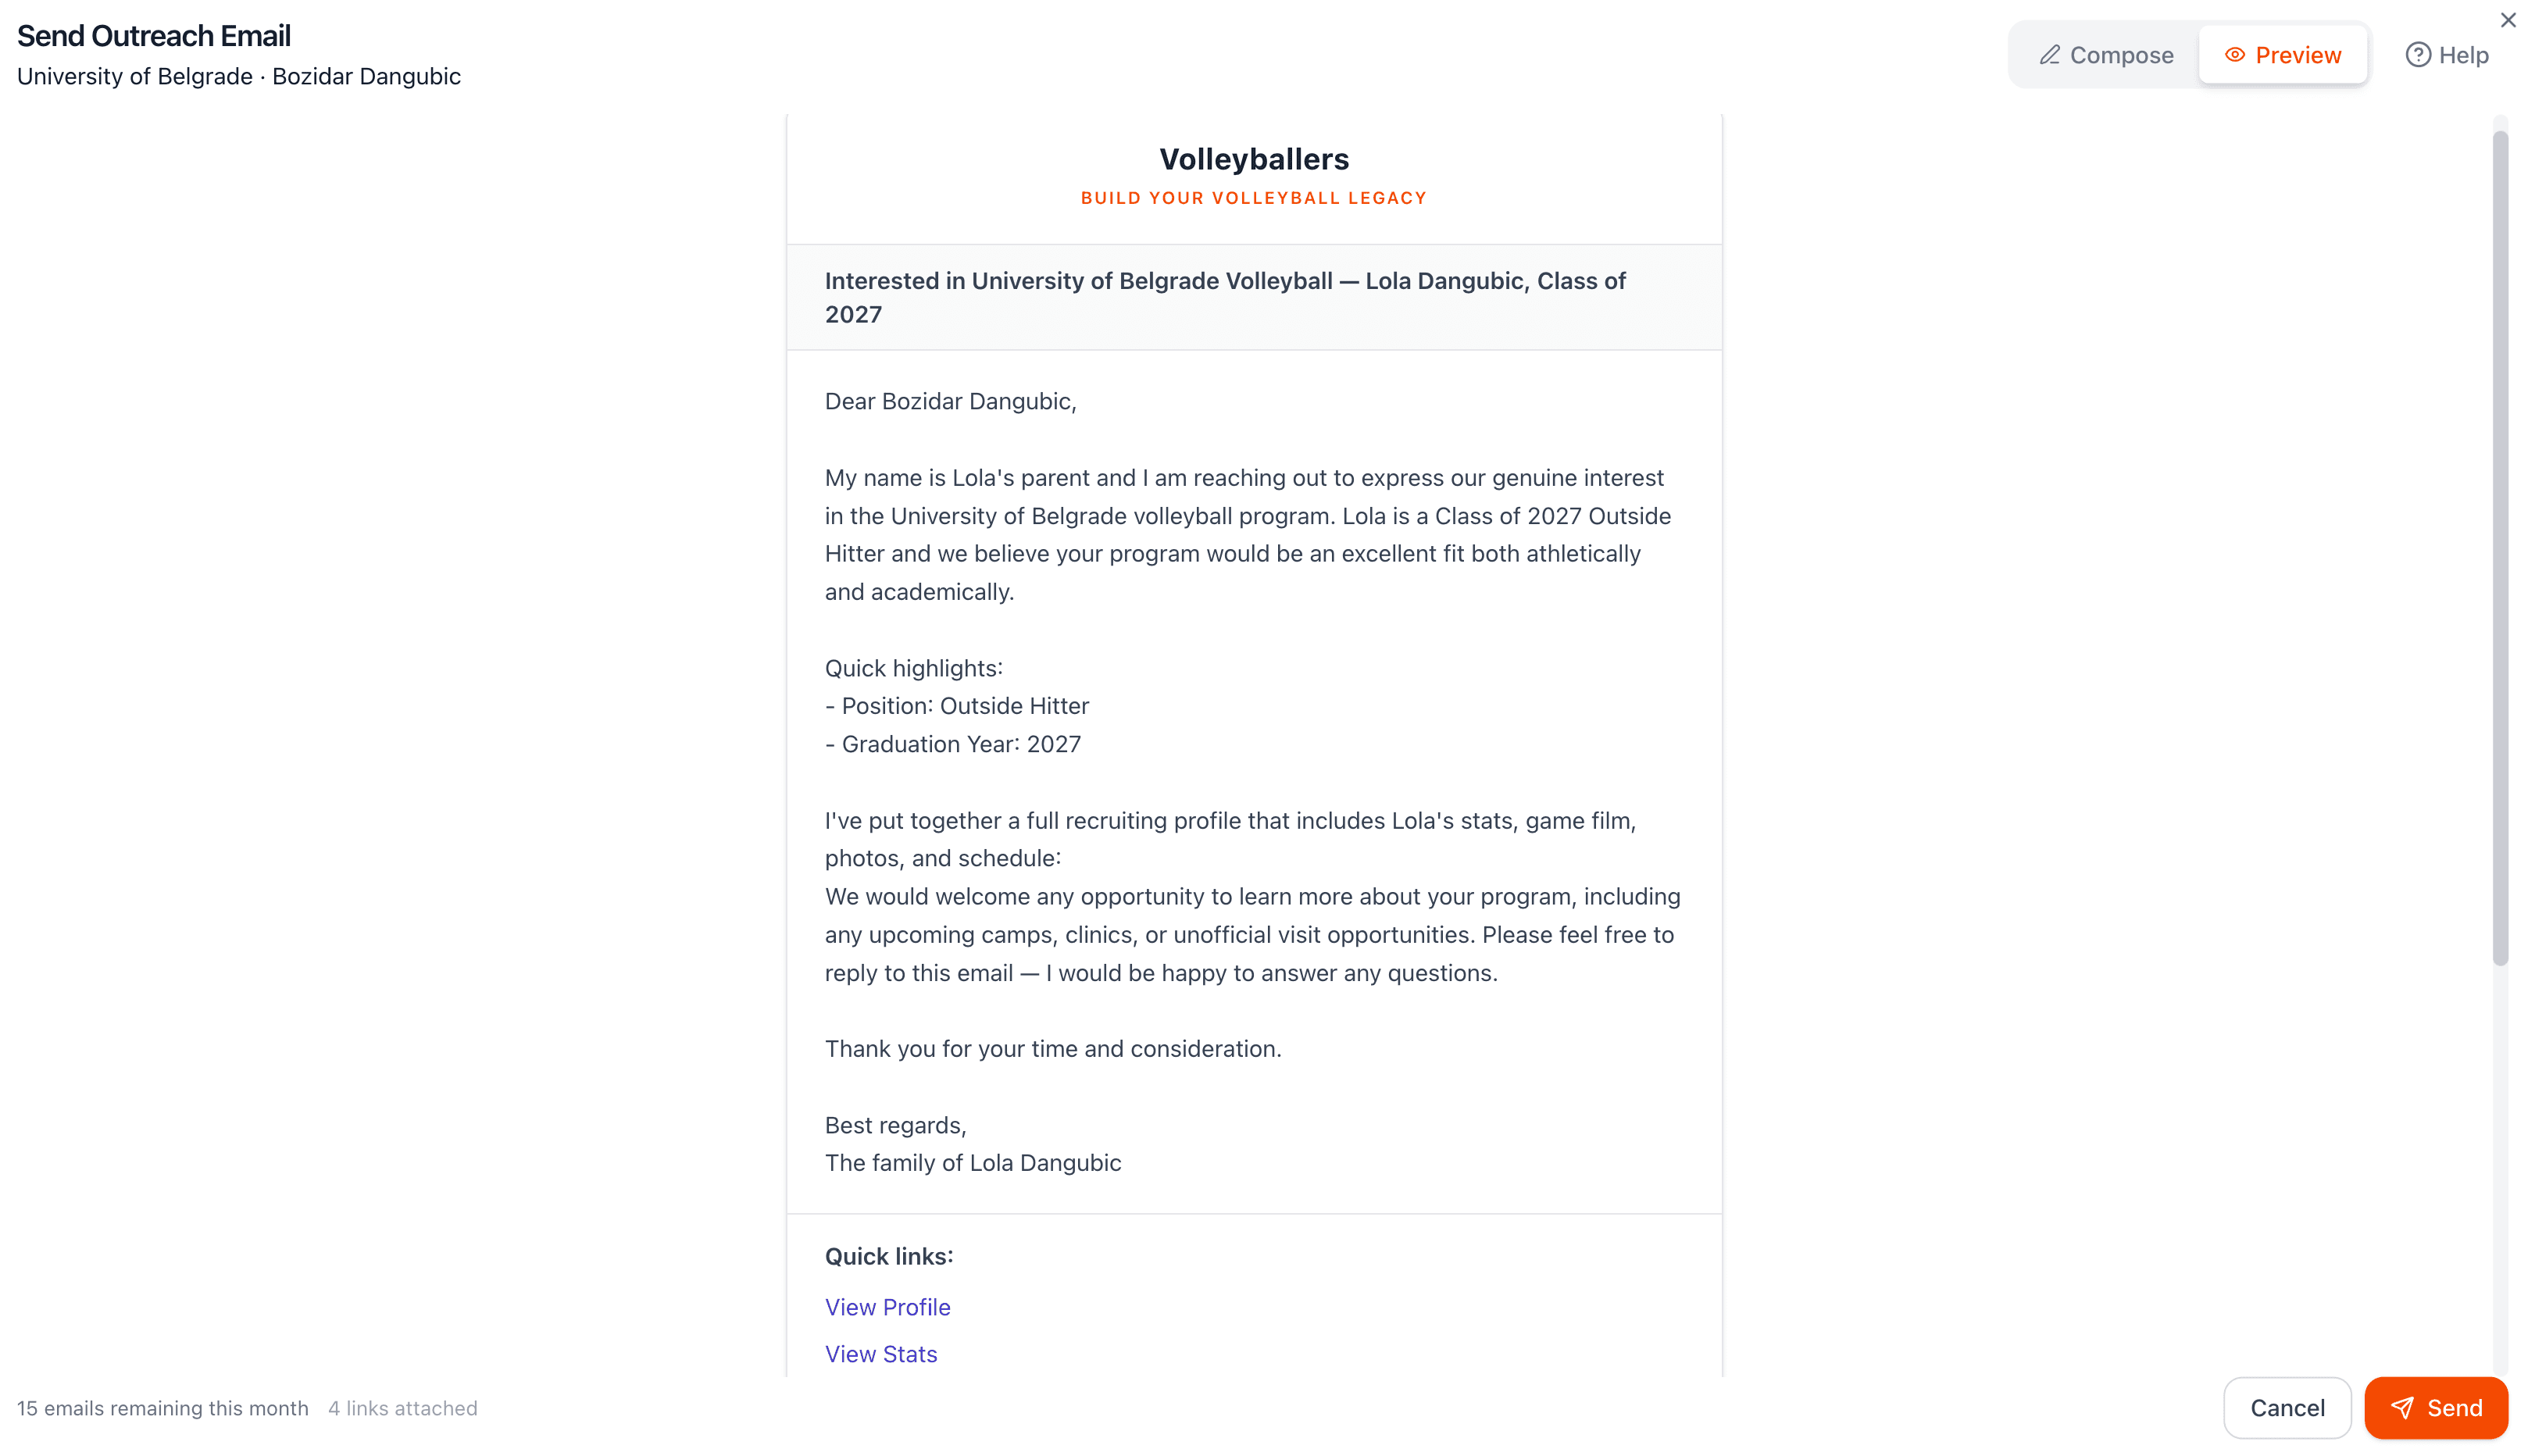
Before sending, preview your email exactly as the coach will see it. The preview shows your formatted message, included profile links, and attached media. Review everything carefully, once sent, the email cannot be recalled or edited.
The composer includes a built-in help button that launches a guided tour of all the features. You can also revisit this user guide section anytime. The guided tour walks you through each step of composing and sending an outreach email.
